Exporting Reports
You can export reports from Easy Insight into a wide variety of formats. From the report editor or report view, you can click on the Export button to pull up a window with the various export options:
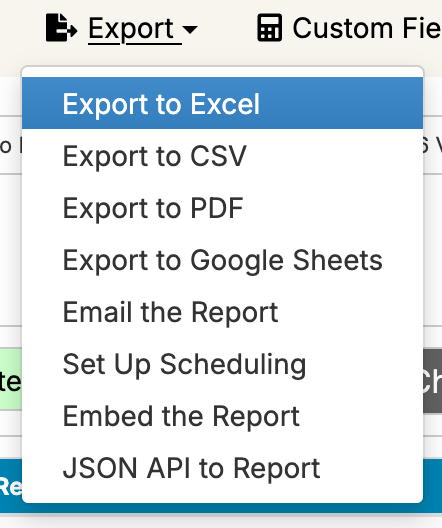
- Export to Excel will generate an Excel spreadsheet based on the report. If the report is not a tabular type of report such as a List or Crosstab, the report will be translated as a List report (chart reports won't export to Excel as charts).
- Export to CSV will generate a CSV file based on the report.
- Export to PDF will generate a PDF document based on the report.
- Export to PNG will generate a PNG image of the report.
- Export to Google Sheets will copy the report into the specified Google sheet.
- Email will send an email with the report attached as an Excel, PDF, or PNG attachment.
- Scheduling provides you with a convenience link to the Scheduling page for the report. Please see Scheduling Report Delivery for more information.
- Embed Report into Website provides you with a window for embedding the report into external systems via iframe. Please see Embedding Reports and Dashboards for more information.
- JSON API to Report provides you with a link to the JSON API for report results. For example, you might define a report inside of Easy Insight and then consume the report in JSON format through your own code to present the results in your application's native interface.
You can export list reports to Google Sheets. In order to export to Google Sheets, you need to follow a series of setup steps:
First, take your list report and export it to Excel: Import the exported data into a new sheet on Google Sheets.
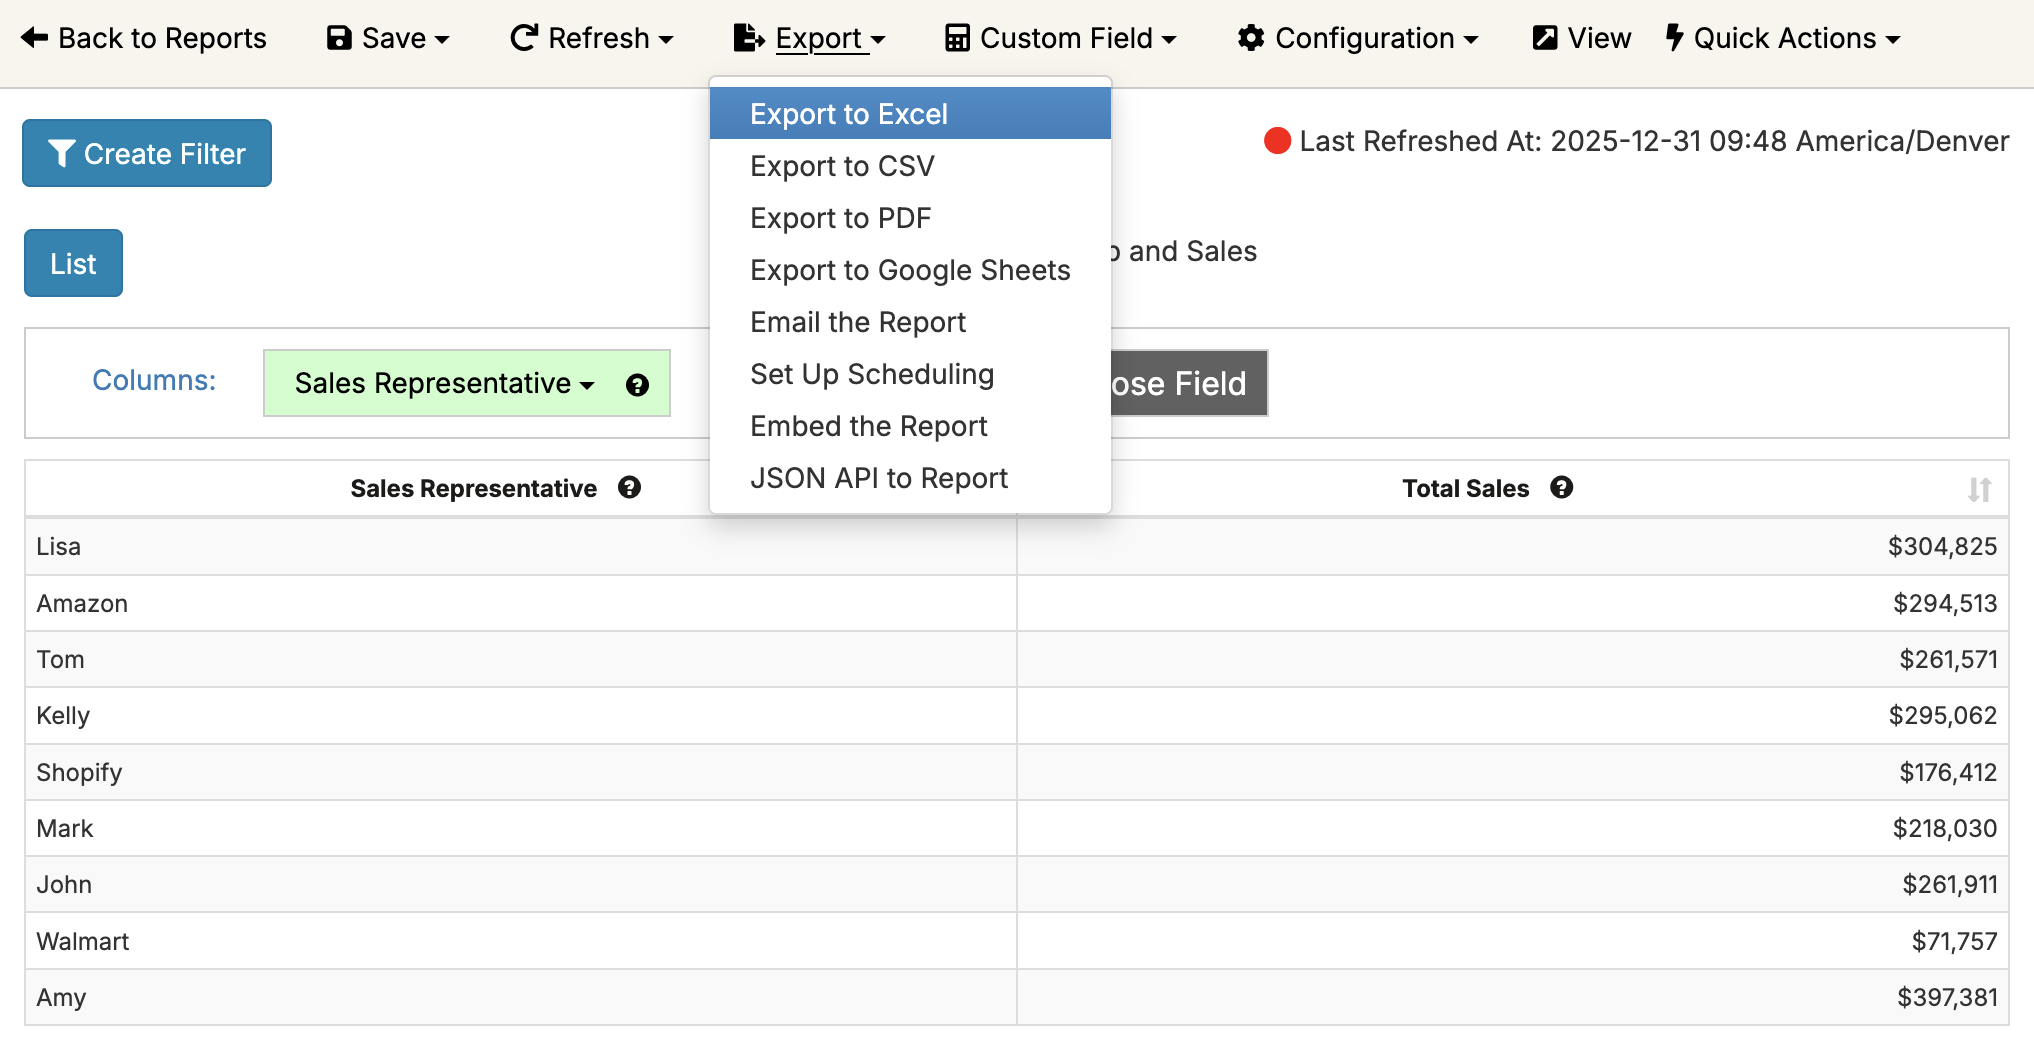
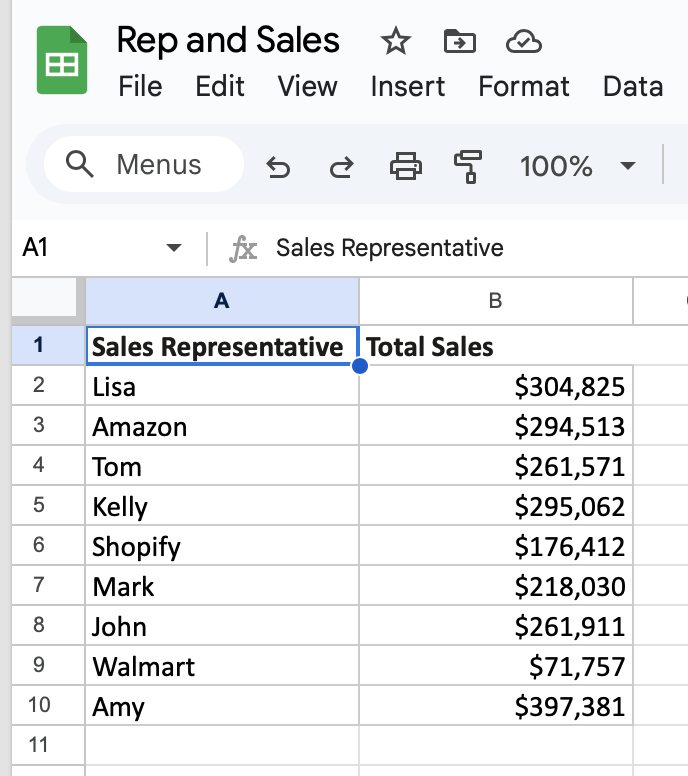
Create a new sheet as the upload target (or set up an existing sheet with the matching headers):
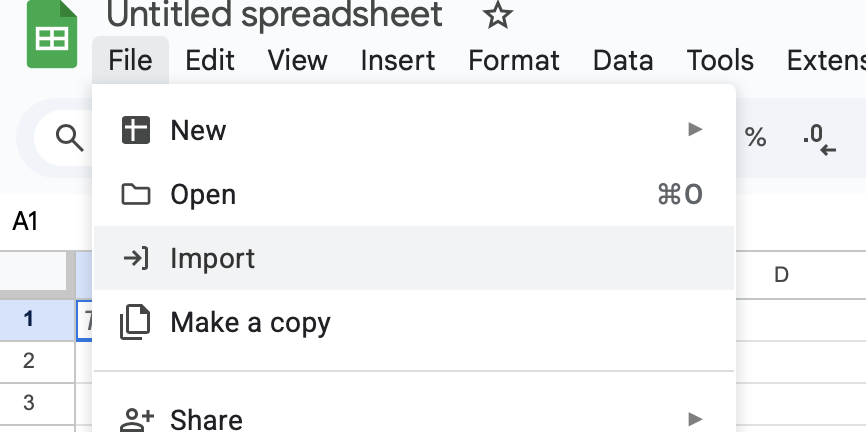
Your Google sheet needs to have matching headers so that Easy Insight can write data into the appropriate columns:
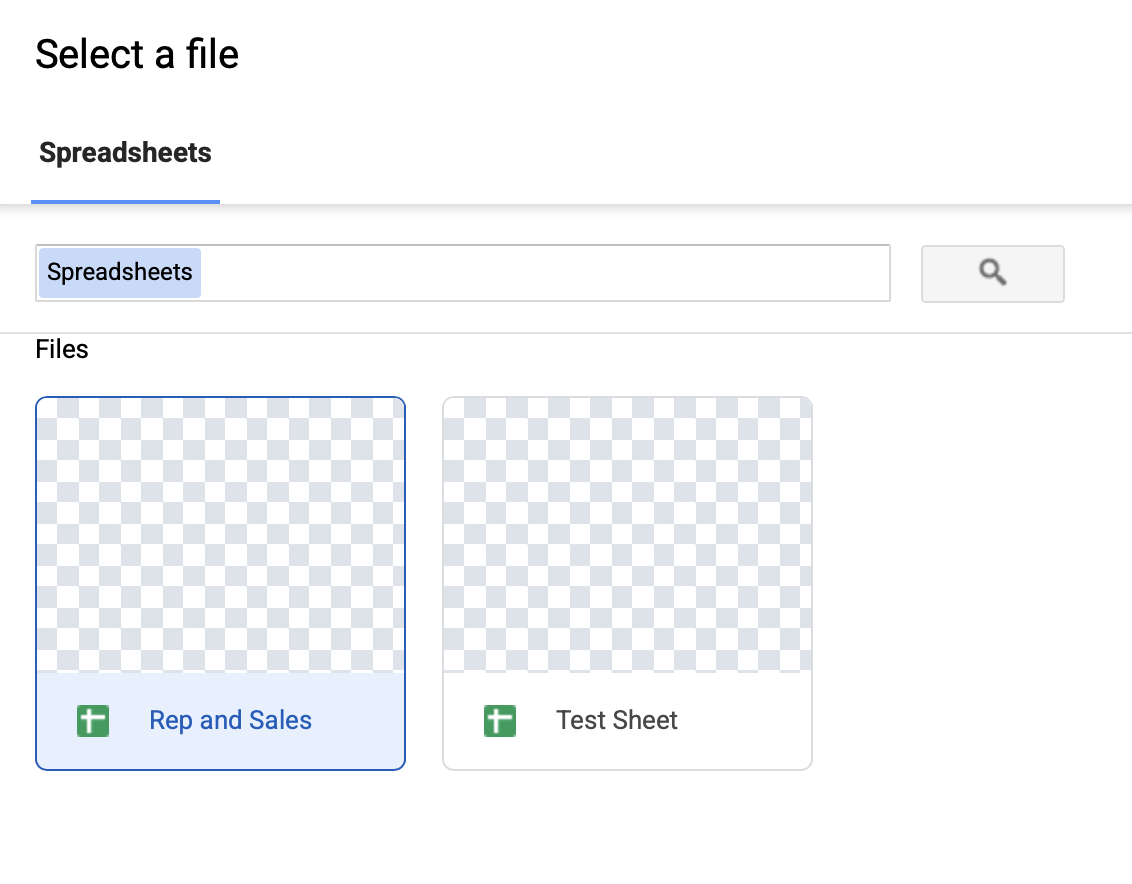
Next, create a connection through the Connections page in Easy Insight to the new sheet, using the Google Sheets connection. Choose the target sheet as the destination:
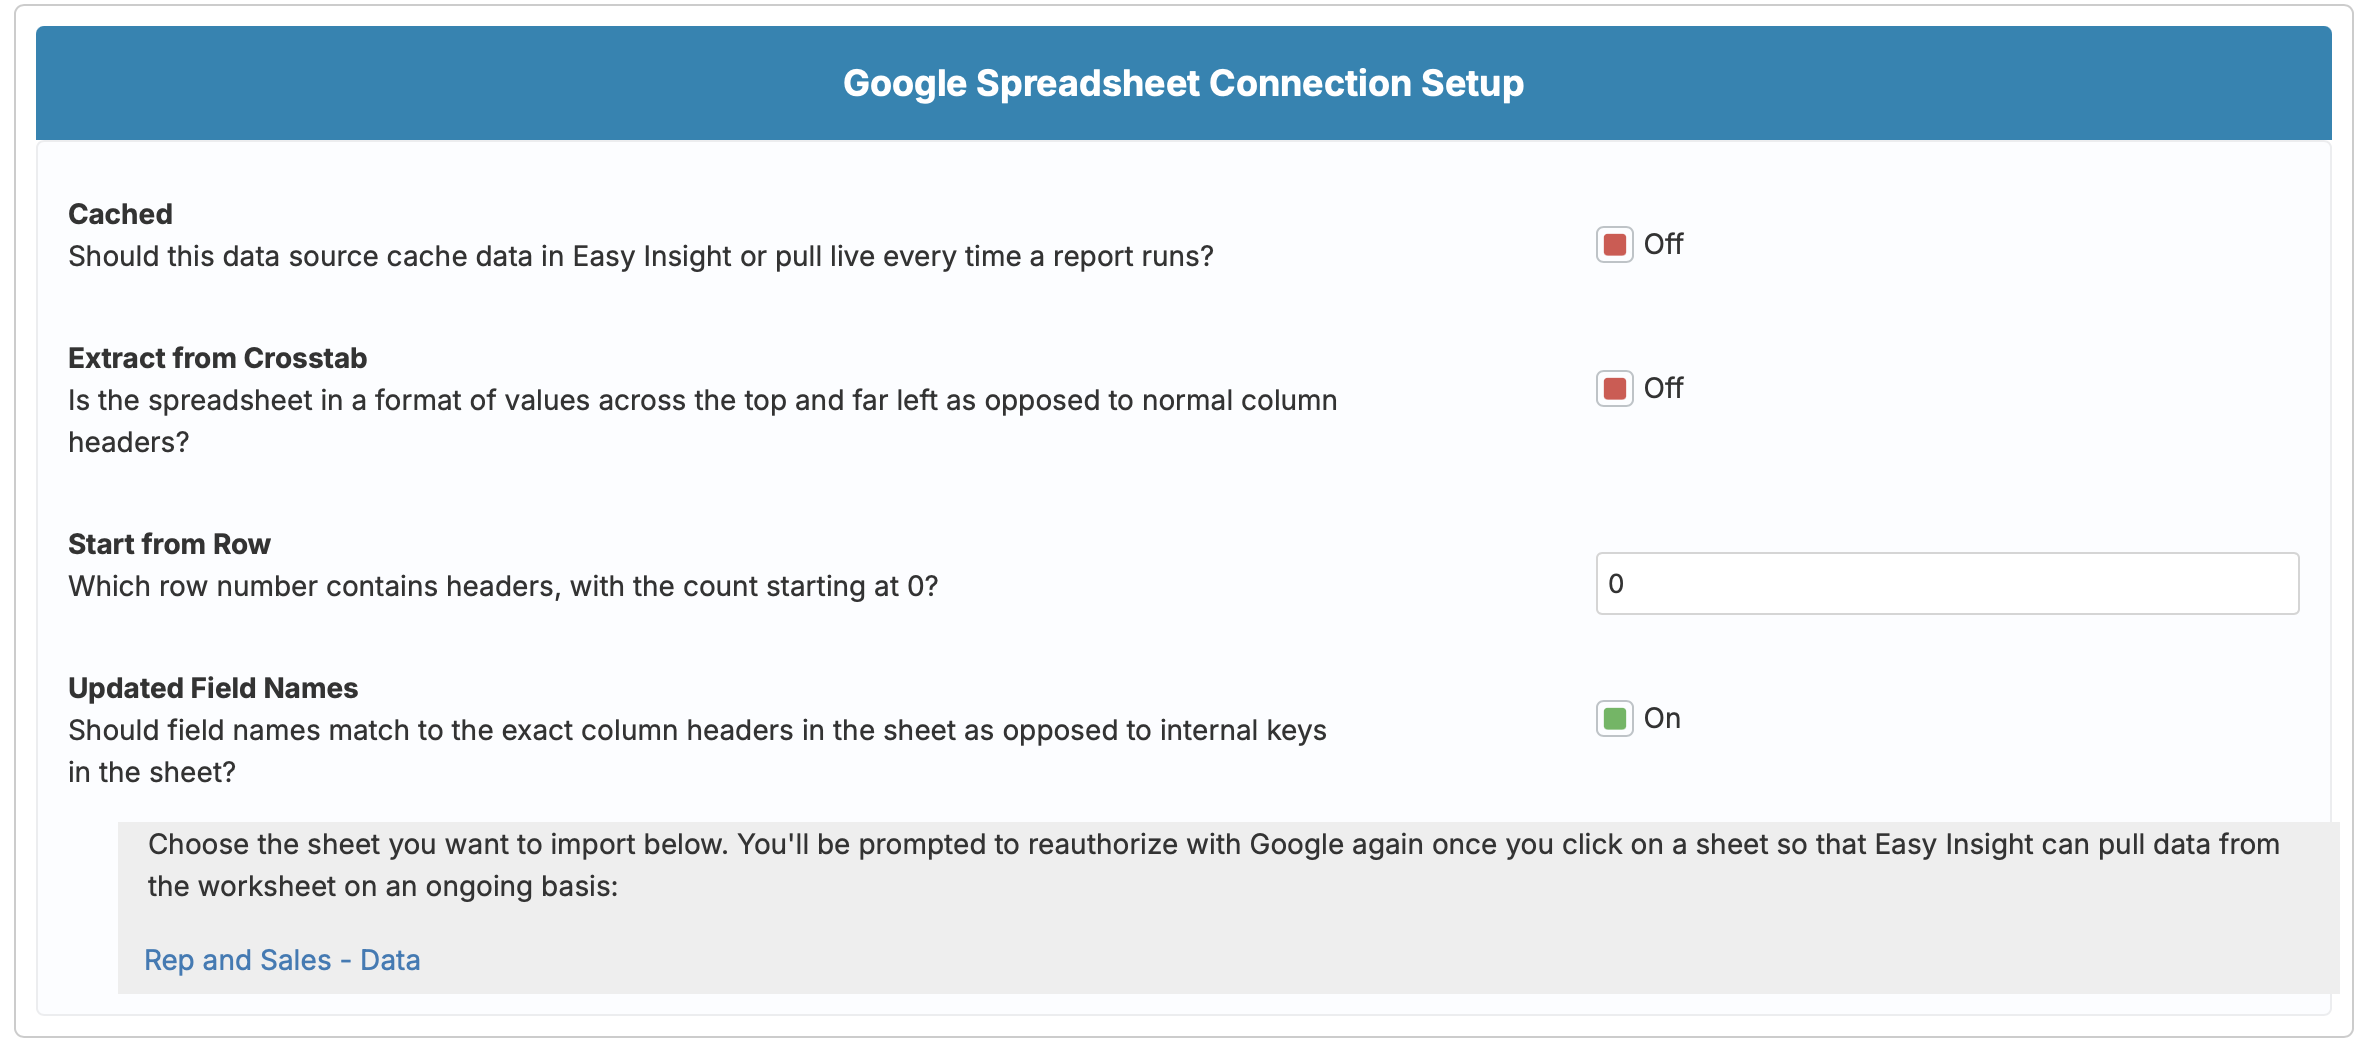
After choosing the target worksheet, choose the specific tab with the headers back in Easy Insight:
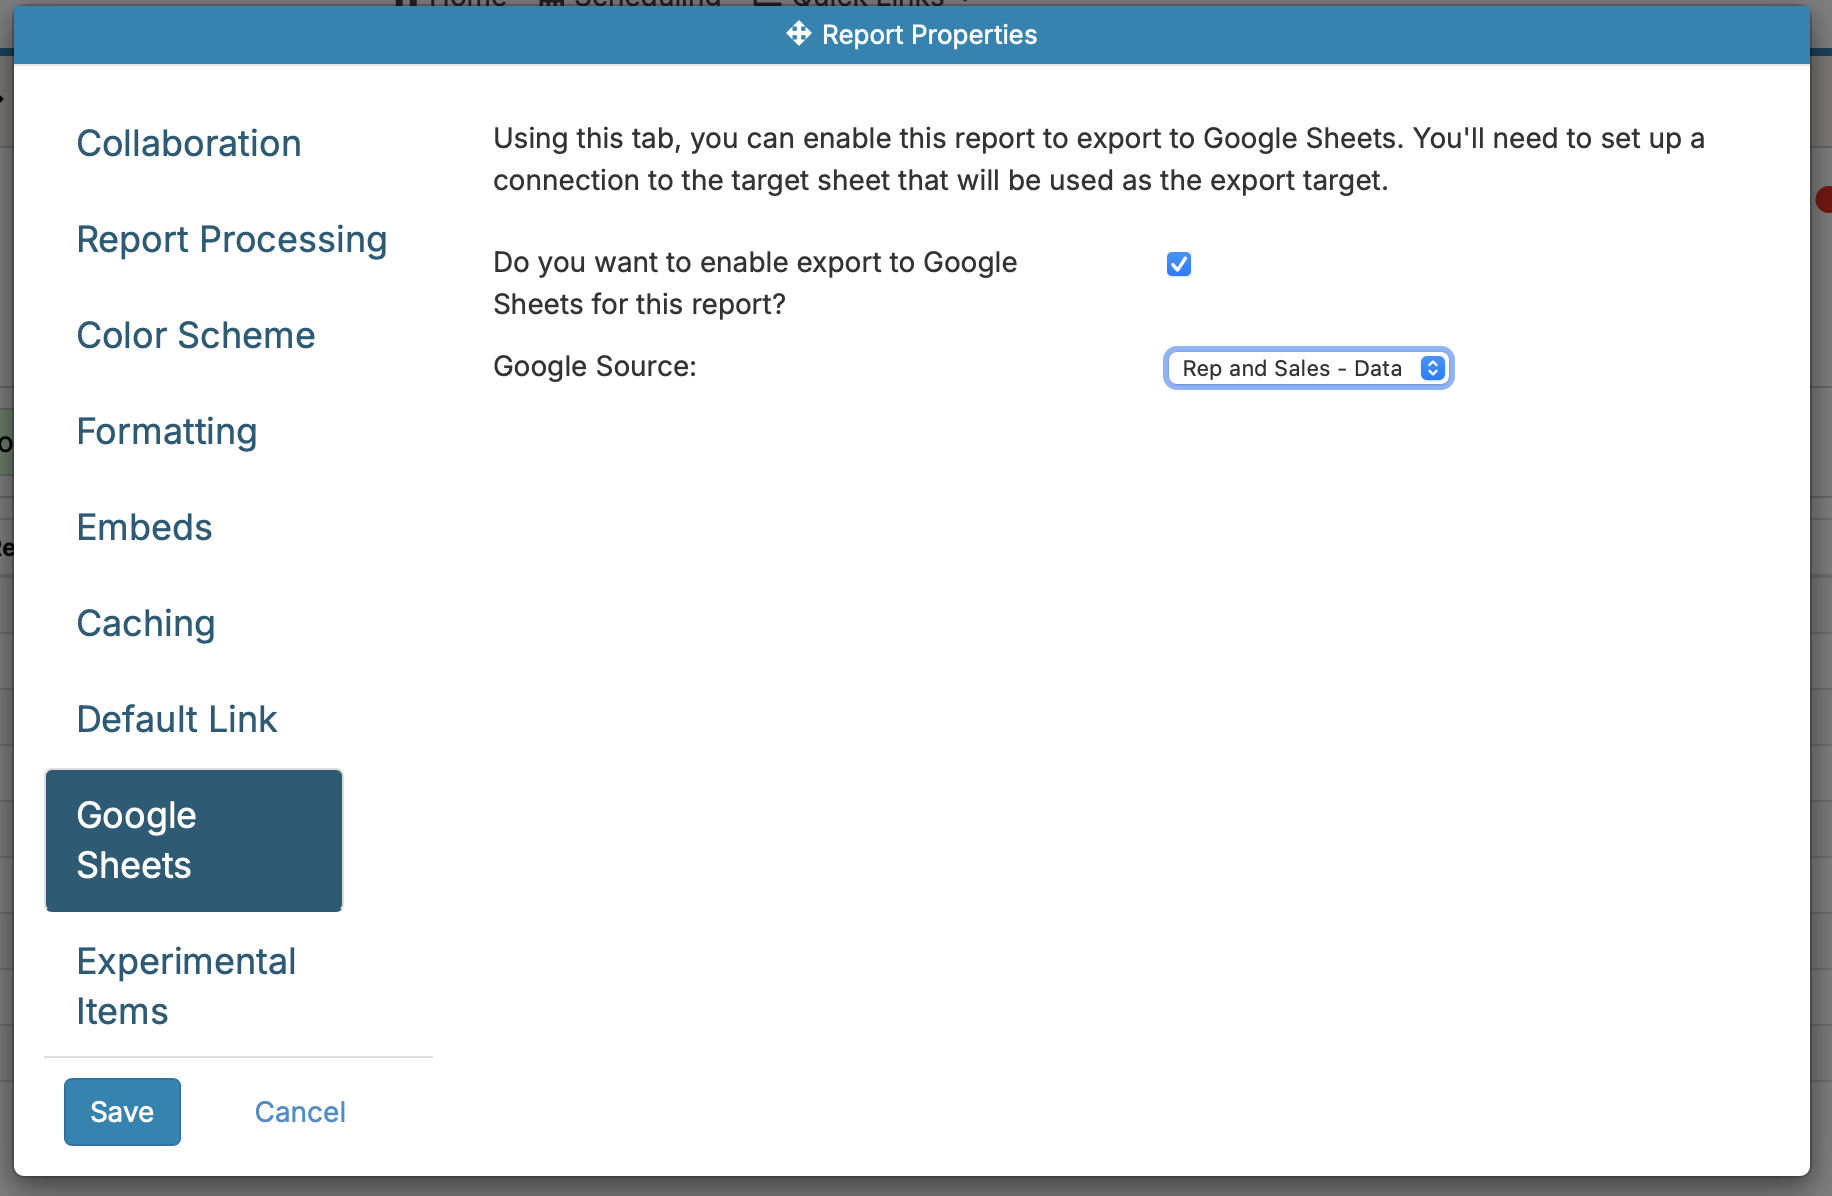
With the connection created, return to your list report. Click on Configuration -> Report Properties and go to the Google tab. Enable Google Sheets export and choose the Google Sheets data source you just created as the target. Save, and save the report itself:
After completing these steps, you can export your report to Google Sheets from the editor, the report view, and set up scheduled exports of the report through Scheduling.
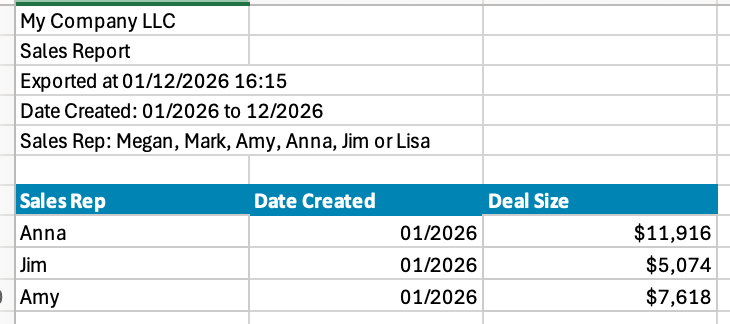
You can add additional header information to your Excel and PDF exports:
Line 1 -- you can fill this with whatever you want, such as your company name.
Report Name -- if selected, the report name will be included as a line.
Export Date -- if selected, the date/time of the export will be included as a line.
Filters -- if selected, any visible filters on the report will be included as lines.
The screenshot provides an example of what this looks like in practice for Excel and PDF exports:

You can configure these settings through the Excel and PDF configuration sections found under Account -> Account Settings: