Data Sources
- Data Source Basics -- learn the basic concepts around data sources in Easy Insight
- Data Source Properties -- learn how to rename data sources and adjust other data source settings
- Combining Data Sources -- learn how to combine multiple data sources together
- Data Source Joins -- learn specifics around joining different data sources
- Drillthroughs -- learn how to add drillthroughs to your data source that will be applied to all reports
- Report Data Sources -- learn how to use a report as a data source itself
- Data Source Custom Fields -- learn how to add custom calculations to your data source
- Parsed Custom Fields -- learn how to parse custom fields out of existing data
- Databases -- learn how to connect to relational databases
- Federating Data Sources -- learn how to federate multiple data sources together
- Field Rules -- learn how to set default dates
- Field Aliases -- learn how to rename your fields at a data source level
- Recommended Fields -- learn how to manage the recommended fields shown in field selection
Once you've connected a data source in Easy Insight, you can go to its data source screen from the Home page:
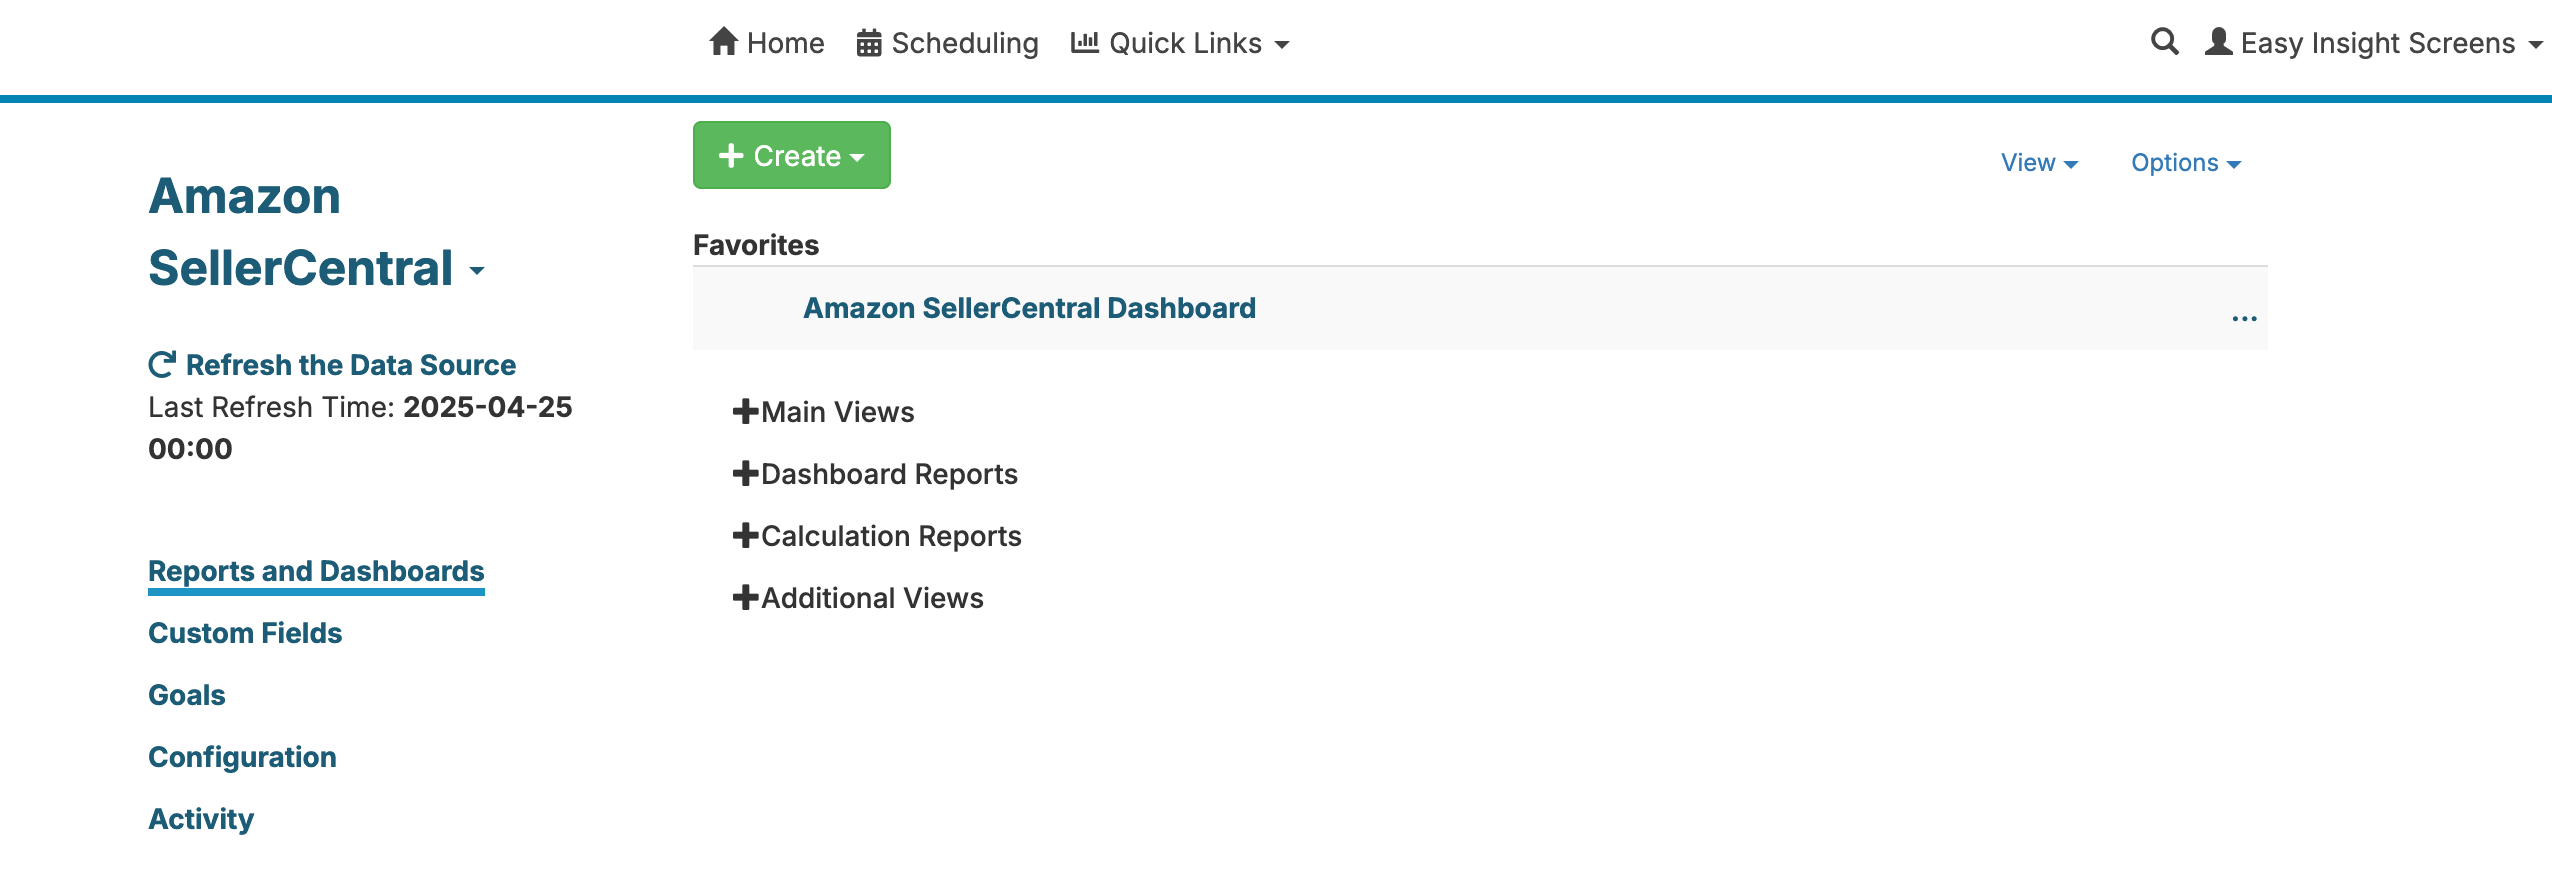
You can see your last refresh time and an option to trigger an on demand data source refresh:
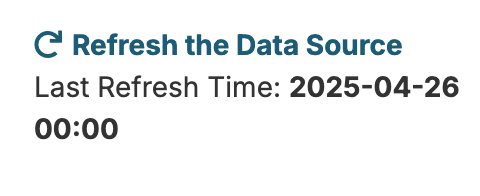
For more information on scheduling your data source refreshes, see Scheduling.
You can create new reports or folders by clicking on the Create button. Your reports and dashboards are shown in the right. The 'Favorites' section provides a way to organize your top reports and dashboards for frequent access:
Your other reports and dashboards are shown below the Favorites. You can change the view between Recent, Tree, and Table to help organize and find the report you're looking:
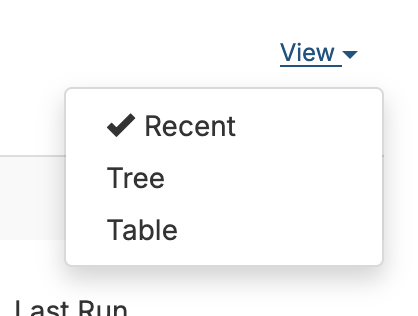
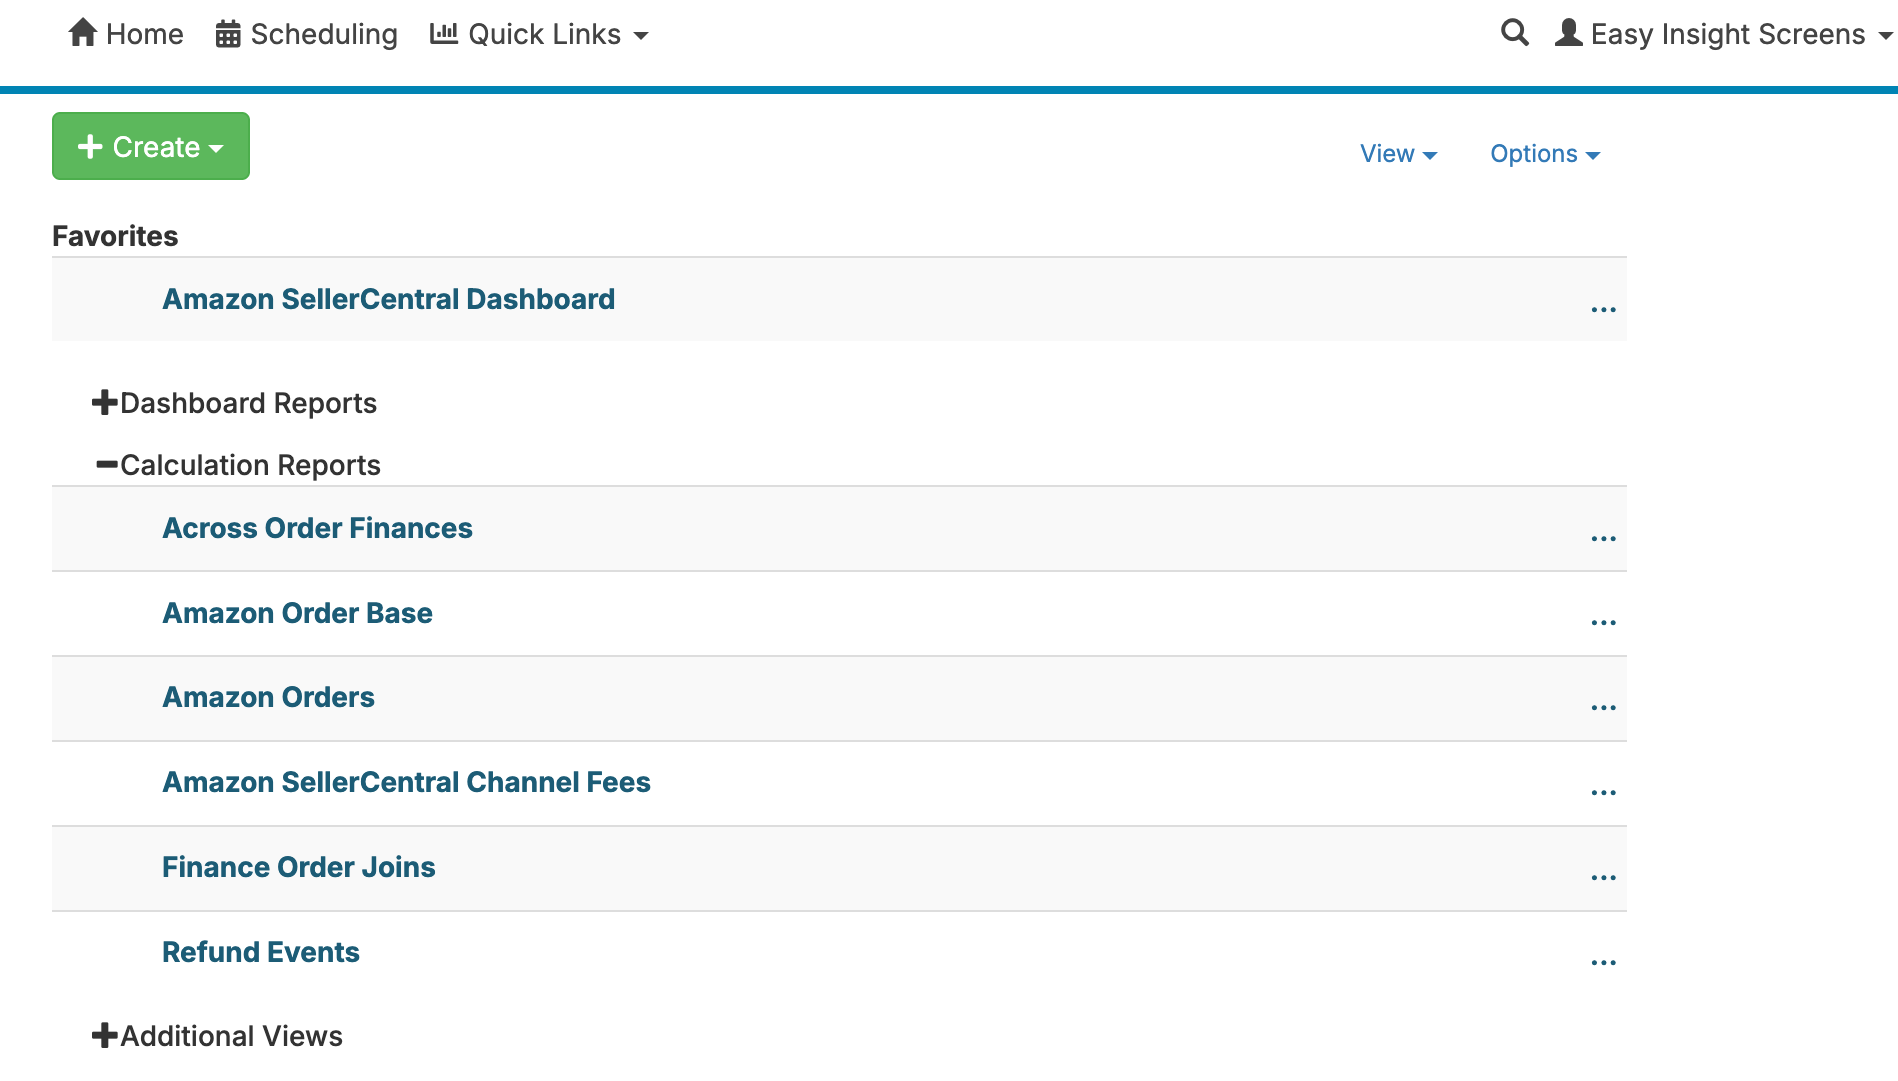
You can click on the three dots to the far right of the report name to edit or favorite the report.
The 'Recent' view sorts by the most recently accessed reports:
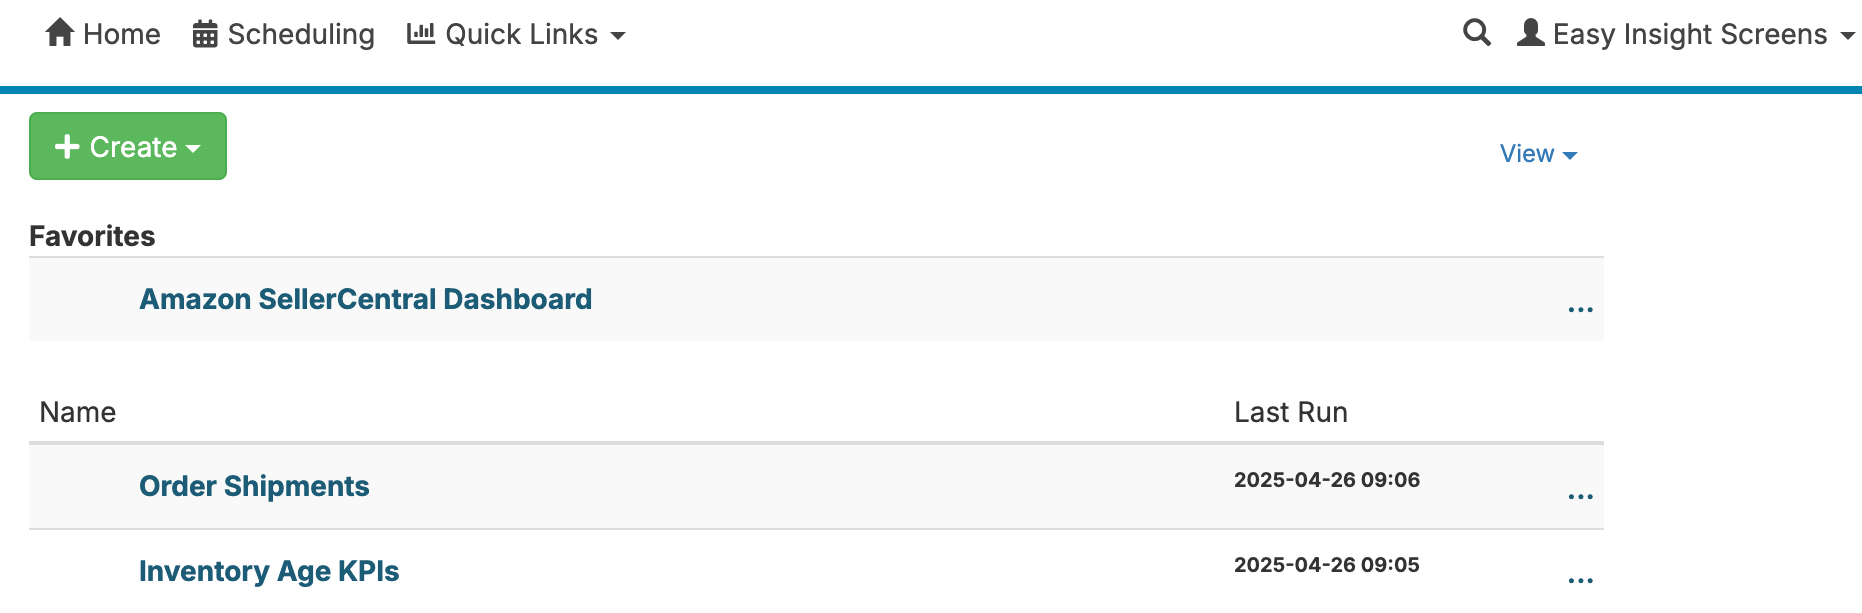
The 'Tree' view allows you to group reports into folders. You can add new folders by clicking on Create and choosing Create Folder. You can move reports between folders by clicking on the three dots next to the report and choosing the folder to move the report into:
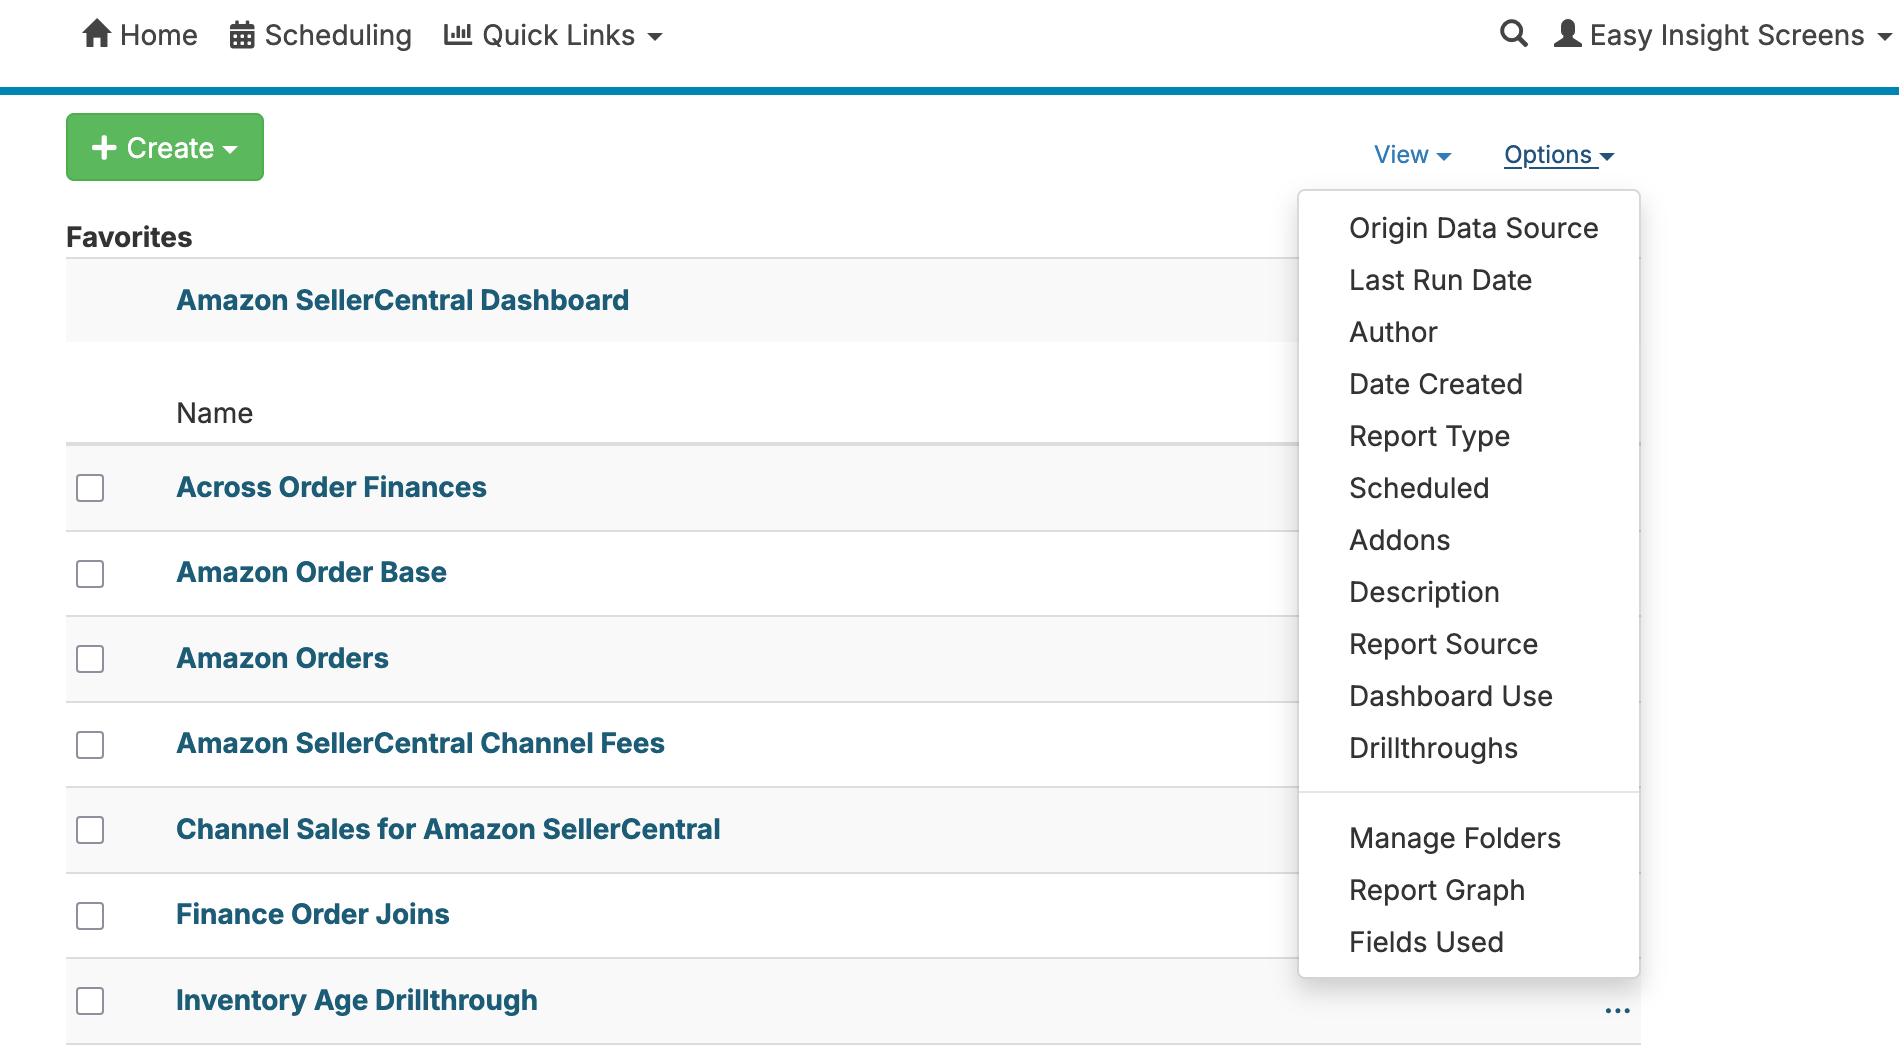
The 'Table' view allows you to view reports as a sortable table. You can add additional columns to the table through the 'Options' dropdown: